An ode to ketchup and mustard…

We all know that ketchup and mustard are the king and queen reigning the condiment world, while we know there is something nostalgic about commercial brands, don’t leave it in the hands of Heinz and French’s.  Embrace making your own handcrafted customized concoctions.
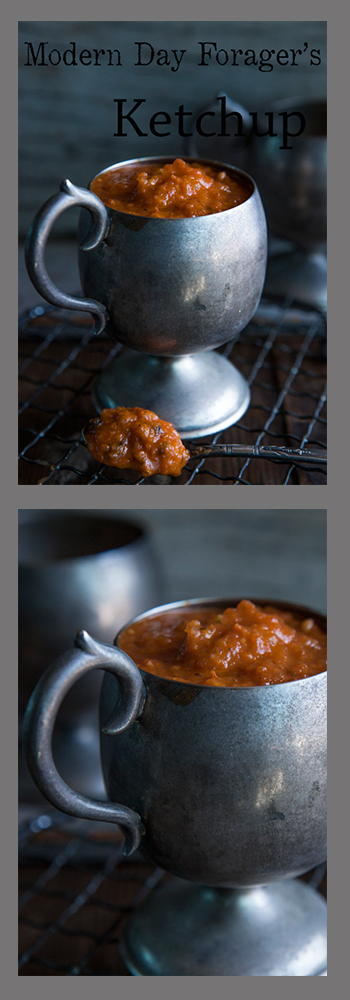
Ketchup by Modern Day Forager


Making ketchup is really quiet simple, and the flavor combinations are endless.  So why not?  If you have an abundance of tomatoes from your garden this summer, why not use these juicy orbs of goodness and build a better ketchup?

MDF FARM FRESH KETCHUP

Ingredients:

  • 1/4 cup Olive oil
  • 1 red onion, chopped
  • 1/2 small bulb fennel, chopped
  • 1 stalk celery, chopped
  • 1 tablespoon fresh ginger, peeled and chopped
  • 2 cloves garlic, minced
  • 1/4 teaspoon red pepper flakes
  • 1/4 cup fresh basil, chopped
  • 1 tablespoon coriander seeds
  • 2 cloves
  • 1 teaspoon salt
  • 1 teaspoon freshly ground black pepper
  • 3 pounds fresh tomatoes (experiment with your favorites)
  • 1 1/2 cups filtered water
  • 1 cup red wine vinegar (3/4 cup if you don’t want ketchup tangy)
  • 1/3 cup brown sugar

Directions:

  1. Place the first 12 ingredients in a large pot over a medium-low heat for 15 minutes stirring often.
  2. Add the tomatoes and 1 1/2 cups of water.  Turn heat to medium-high stirring often, until liquid is reduced by half.
  3. Pour mixture into a food processor and process until smooth, then pour mixture through a mesh sieve into a clean pot.
  4. Over medium heat stir in red wine vinegar and brown sugar, and reduce to the thickness you desire.
  5. Cool and then store in refrigerator.

If you prefer a chunky style, just omit the sieve step.

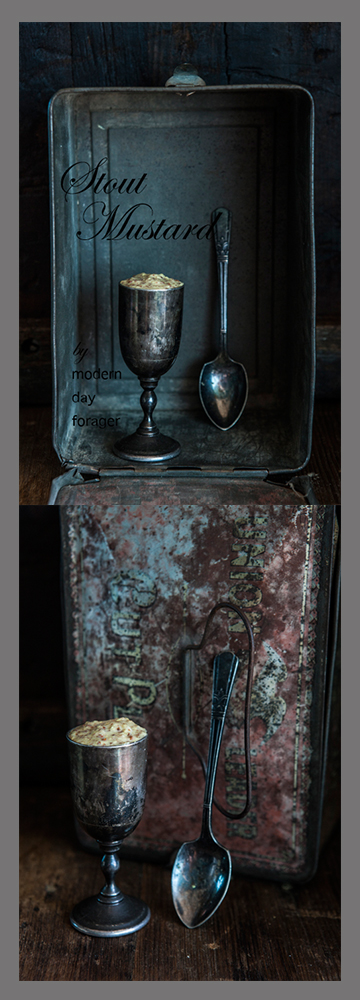
Stout Mustard by Modern Day Forager

Don’t hold the mustard or cut the mustard, make mustard!  This top dog condiment is surprisingly a cinch to make.  However, there are a few basics you need to understand about the process for making really good quality mustard.  First, the seeds need a good crushing and grind, and the key here is to add cold liquid (cold stout in this recipe) to add moisture to the mustard seeds.  Mustard gets its bite when the cracked seeds release volatile oils, much like capsaicin, the “hot” in chile peppers and when mixed with the liquid, the result is pungent and spicy.

Second, heat will temper the chemical reaction (much like cutting a onion) so, hot mustard, cold liquid, warmer liquid a more mellow mustard.  Also, in addition of the cold liquid remember that adding an acid is crucial to the recipe.  If you don’t add the acid, the mustard will lose its bite over time.  Adding vinegar, for instance, will stop and set the chemical reaction in place.

Mustard is extremely versatile, with many variations, it livens up and pairs well with sandwiches, cold meats, cheese, greens, burgers and hotdogs.  Rj and I are from Chicago and the only way to eat a dog is with mustard, sorry ketchup.  It also is a great emulsifying agent/stablizer for salad dressings, marinades, dips, sauces and spreads.  By making your own, you avoid all the goop of artificial flavors, fillers, colors and homemade just tastes better. 

MDF Extra Stout Mustard

 Ingredients:

  • 3 tablespoons yellow mustard seeds, crushed
  • 2 tablespoons brown mustard seeds, crushed
  • 1/3 cup Cold Guinness Extra Stout
  • 2 tablespoons white balsamic vinegar
  • 2 tablespoons honey
  • 1 small clove garlic, chopped
  • 1/4 teaspoon ground allspice
  • 1/4 teaspoon salt
  • 1/4 teaspoon fresh ground black pepper

Directions:

  1. Combine all of the ingredients in a large mason jar, cover and refrigerate overnight.
  2. Pour the ingredients into a food processor or blender and process until the seeds are broken down and you reach your desired consistency, it will thicken the more you process. (You may also use an immersion blender right in jar)
  3. Store in your refrigerator, for up to 2 weeks.
Recipes by Rj of Urban Table
Photo Styling & Art Direction by Traci of Urban Table
Photography & Art Direction by Heather of Heather Gill Photography
Modern Day Forager

A week of Modern’s favorite condiments

Well hello there…

We are back from our much needed break and we are raring to go and just over the moon to get back to our beloved blog.

This week it is all about MDF’S favorite condiments and ramping up the flavor.

Today, people have become much more sophisticated with their food choices, then in the past.  We are willing to experiment, taste new flavors and learn about new cultures.  Usually, it starts with condiments that have gone mainstream.

So, we want to DIY our condiments.  Why?  Well, most of the so-called jars of goodness, we buy, are filled with all sorts of  preservatives, chemicals, fillers, binders and high fructose corn syrup.   Making a small batch from scratch is a much healthier and tastier way to go.

KEWPIE MAYO

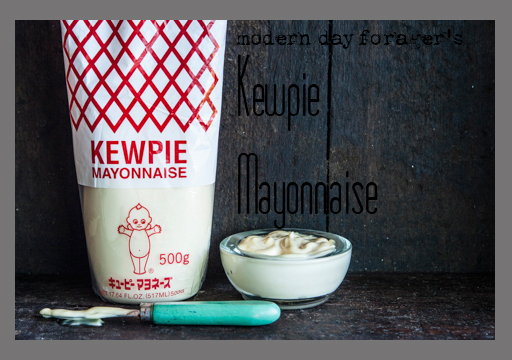
Kewpie Mayonnaise by Modern Day Forager


First up, is our take on Kewpie Mayonnaise, the name alone makes for a great conversation.  This Japanese mayo with the kewpie baby doll on the bottle is quite popular among big time foodies, this  is our version without the addition of crystallized monosodium glutamate.

What is interesting about this mayo that differs from homemade and industrial mayo, made here in the states, is that, only egg yolks are used and mainly rice wine vinegar or some other type of vinegar is used to replace the lemon juice.   The end result is a yellowy, creamy, rich, thick, eggy mayo with a  smooth luxurious mouth feel that is quite satisfying.  You have never tasted a mayo like this, and once you do, you’ll wonder how you ever got by without it.

Flavor-packed, this condiment is wonderful on deviled eggs, burgers, sandwiches, dressings, dips, spreads, in egg, chicken and tuna salads and amps up just about everything you put it on or in.  It is also used as a umami flavor in many restaurants across the country and  is a secret ingredient among many chefs.

Modern’s take on Kewpie Mayo

Ingredients:

  • 2 Egg yolks
  • 1 tablespoon rice wine vinegar
  • 1 teaspoon hot Japanese mustard
  • 1/2 teaspoon dashi powder
  • 1 teaspoon Salt
  • 1/4 teaspoon Sugar
  • 1 1/2 cup canola oil

Directions:

1. Place the egg yolks in the bowl of the food processor, add the vinegar and mustard, season with dashi powder, salt and sugar to taste.  Turn the machine on and VERY slowly start to drizzle in the oil until the mixture starts to look like mayonnaise, then a slow steady stream of oil can be added.

2.  Put in the refrigerator for at least an hour to let the flavor develop.

Note:  If the mayonnaise is too thick add a few drops of water or if it is not thick enough, with the machine running, add a little more oil.

Recipe Ideas:

Broiled Mussels with Dynamite Sauce:

(Dynamite sauce also is a great sushi dipping sauce)

24 mussels, steamed
, 1/2 cup Kewpie mayonnaise, 
1 tablespoon Sriracha, 
1 small garlic clove (smashed to a paste), 1 teaspoon sugar.

Preheat broiler on high heat. Remove one half of mussel shell and discard.  Whisk together mayonnaise, Sriracha, garlic, and sugar, then place about 1 teaspoon over each mussel.  Place mussels on a foil-lined baking sheet.  Broil 4 to 5 inches from heat until sauce is bubbling and begins to brown, 6 to 8 minutes.

Ian Knauer is the author of The Farm: Rustic Recipes for a Year of Incredible Food

 Devil Egg: 

Mix yolks with kewpie mayo, minced habanero and freshly ground black pepper.

Dip:

2 tablespoons kewpie mayo and a squeeze of wasabi paste to taste, mix.

KIMCHI RELISH

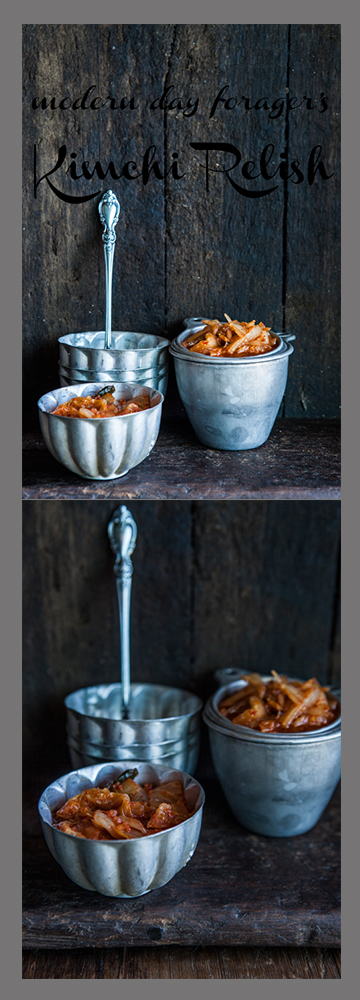
Kimchi Relish by Modern Day Forager


Hints of old fashioned sensibilities but couldn’t be more modern, is our take on kimchi.  Kimchi or sometimes called gimchi is a traditional side dish or topping made of spicy fermented vegetables.  Kimchi is a staple in Korean households and comes in many types and varieties, but the most common are made with cabbage, cucumbers, radish and green onions.  We decided to get our kimchi fix on by making kimchi relish which is chopped finer then traditional chunky kimchi.  We added agave nectar, rice wine vinegar and Sriracha, which gave a slight sweetness and a spicy kick at the same time and just tastes darn good.

This crispy relish works well on burgers , hotdogs, tacos, sandwiches, in soups or stews and on steamed rice or noodles.  It will  stand up beautifully to any steak or add a real punch to a bland chicken dish.  If sunny California is in your near future or on your bucket list, try Kogi BBQ, the famous LA Korean taco food truck.  They do a kimchi quesadilla that will  just knock your socks off.

We love David Chang’s recipe, so we went with his kimchi.

Modern’s take on Kimchi Relish

 Ingredients:

  • 1/2 cup kimchee, thinly sliced (recipe below)
  • 2 teaspoons agave nectar
  • 2 teaspoons rice vinegar
  • 1 teaspoon Sriracha
  • Salt and pepper to taste

 Directions:

  1. Combine kimichi, agave, vinegar and Sriracha in a medium bowl, season with salt and pepper to taste and serve.

 MOMOFUKU KIMCHI

Ingredients:

  • 1 small to medium head Napa cabbage, discolored or loose outer leaves discarded
  • 2 tablespoons kosher or coarse sea salt
  • 1/2 cup plus 2 tablespoons sugar
  • 20 garlic cloves, minced
  • 20 slices peeled fresh ginger, minced
  • 1/2 cup Kochukaru (Korean chile powder)
  • 1/4 cup fish sauce
  • 1/4 cup Usukuchi (light soy sauce)
  • 2 teaspoons jarred salted shrimp
  • 1/2 cup 1-inch pieces scallions (greens and whites)
  • 1/2 cup julienned carrots

 Directions:

  1. Cut the cabbage lengthwise in half, then cut the halves crosswise into 1-inch-wide pieces.
  2. Toss the cabbage with the salt and 2 tablespoons of the sugar in a bowl.  Let sit overnight in the refrigerator.
  3. Combine the garlic, ginger, chile powder, fish sauce, soy sauce, shrimp, and remaining ½ cup sugar in a large bowl.  If it is very thick, add water 1/3 cup at a time until the brine is just thicker than a creamy salad dressing but no longer a sludge.
  4. Stir in the scallions and carrots.
  5. Drain the cabbage and add it to the brine.
  6. Cover and refrigerate.

Though the kimchi will be tasty after 24 hours, it will be better in a week and at its prime in 2 weeks.  It will still be good for another couple weeks after that, though it will grow stronger, and a little more sour and funkier.

 Serving Size:

Makes 1 to 1½ quarts

Innovative recipe of David Chang author of “Momofuku: The Cookbook.”

Recipes by Rj of Urban Table
Photo Styling & Art Direction by Traci of Urban Table
Photography & Art Direction by Heather of Heather Gill Photography

Modern Day Forager

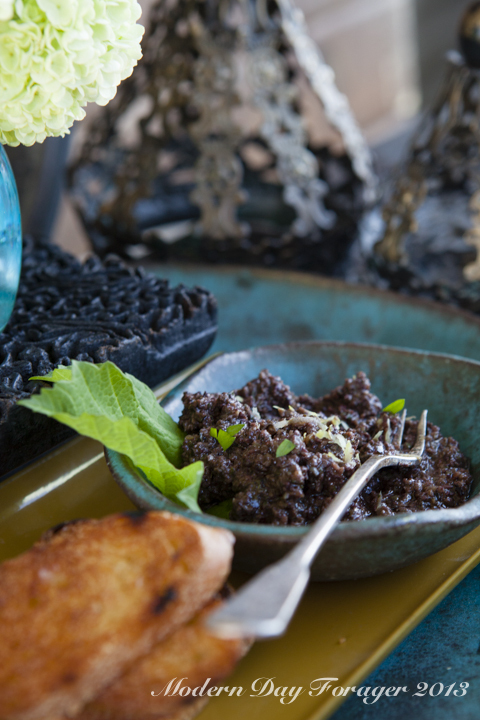
Olive Tapenade

ModernDrinks-32

Recipes by: Rj of Urban Table

Photo Styling & Art Direction by: Traci of Urban Table

Photography & Art Direction by: Heather of Heather Gill Photography

ModernDrinks-27

This is a lovely addition to any party.  Just thin slice a baguette and toast or grill after brushing with olive oil and serve.

Olive Tapenade

1 cup kalamata olives, pitted

1 cup large green olives, pitted

1 cup black olives, pitted

1 red bell pepper, roasted, seeded and chopped

4-5 cloves of garlic

1/2 oz parsley, chopped

1/2 oz basil, chopped

3 teaspoons lemon juice

2 tablespoons capers

5 tablespoons extra virgin olive oil

Lemon Zest (as garnish)

Italian Flat Leaf Parsley (as garnish)

  1. Put the olives (all 3), capers, garlic and bell pepper into a food processor.
  2. Pulse in 1-second intervals about 8-10 times.
  3. Add the herbs, lemon juice and olive oil.
  4. Pulse another 8-10 times.  Be careful not to over process.
  5. Garnish with lemon zest and parsley.

ModernDrinks-26

Modern Day Foragers